Using a Thunderbolt Bridge with Internet Sharing
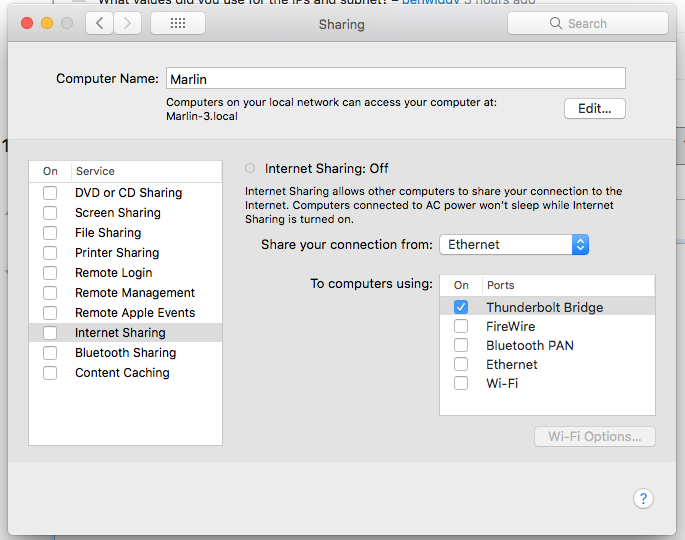
This is an example where a Thunderbolt bridge was be setup to transfer files. This was done using legacy Thunderbolt. I assume the same procedure would be used with Thunderbolt 3. The host computer is connected to the internet through ethernet using a DHCP assigned IP address of 192.168.0.88 and subnet mask of 255.255.255.0, so I setup the Sharing pane of System Preferences as shown below. You could also use Wi-Fi.
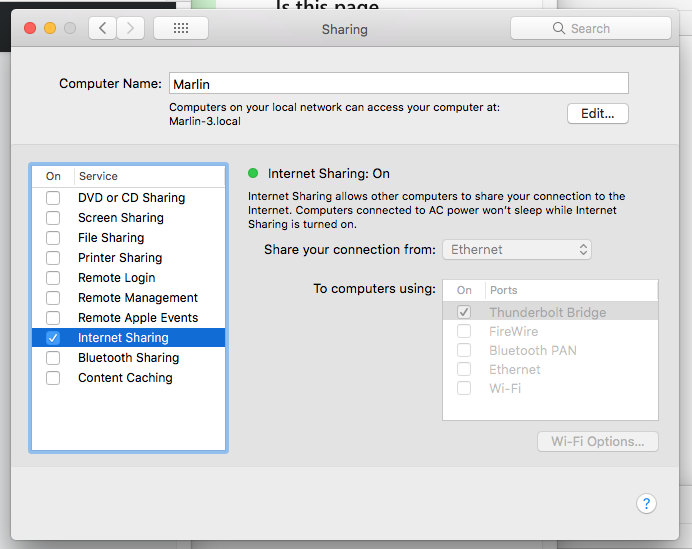
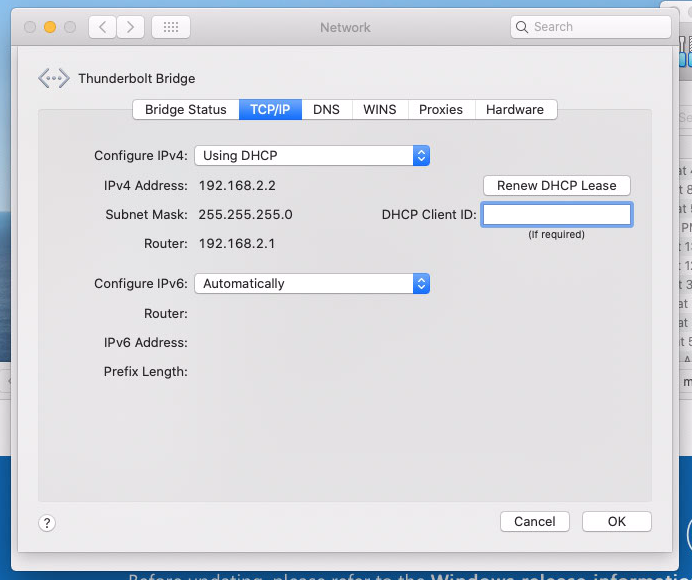
I have a Thunderbolt 2 cable connecting the two Macs. On the client computer, I setup the Network pane of System Preferences as shown below. I needed to select the Renew DHCP Lease button. The client is current not connected to the internet by Bluetooth, Ethernet or Wi-Fi.
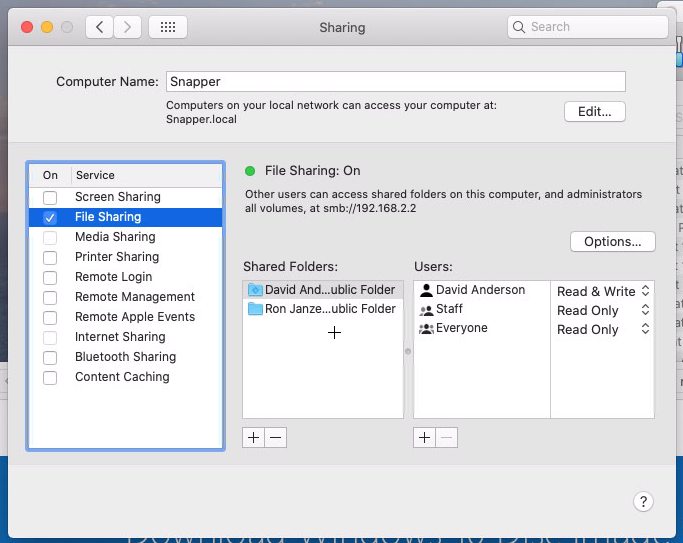
I setup the Sharing pane of System Preferences on the client as shown below. Note: In my case, the image shows I can connect to the client from the host by using smb://192.168.2.2.
From the menu bar of the Finder application on the host, I can select Go->Connect to Server... and enter smb://192.168.2.2, as shown below.
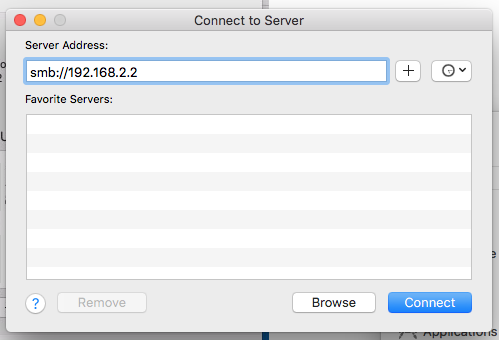
Proceed by selecting the Connect button.
Using a Thunderbolt Bridge without Internet Sharing
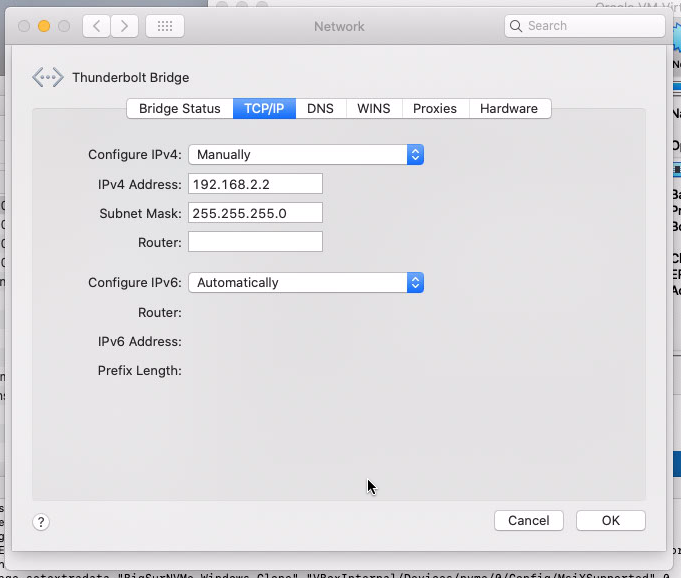
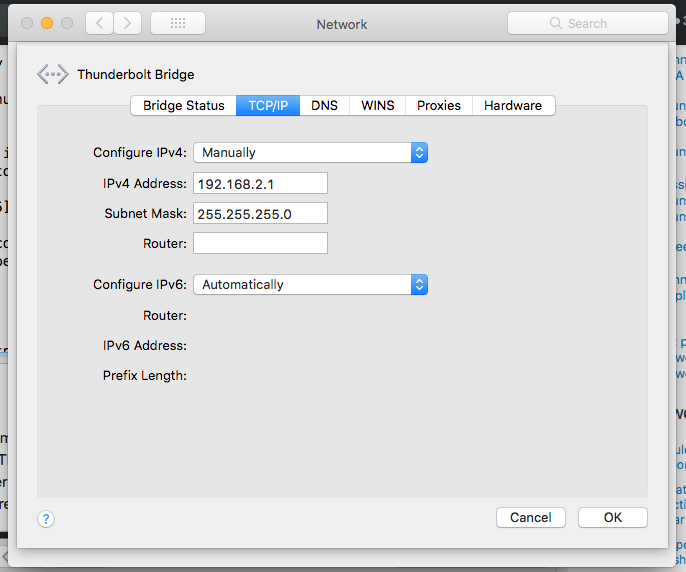
Note: Here the IPv4 addresses of 192.168.2.1 and 192.168.2.2 were used because these were the addresses chosen by the host in the internet sharing example. If you use these address, then you must make sure there will be no conflicts with other LANs being used by either of your Macs.
I suppose internet sharing is not required. For example, the computer, referred to as the client, could have been manually setup, as shown below.
And, the computer, referred to as the host, could have been manually setup, as shown below.
With the above configuration, the Sharing pane of System Preferences, for the computer referred to as the host, could have internet sharing turn off, as shown below.
