To print an image so that the output is at 1:1 scale to the object it depicts, the image must either be specified with the proper ppi (pixels per inch), or the scaling of the printed output must take into account the desired dimensions.
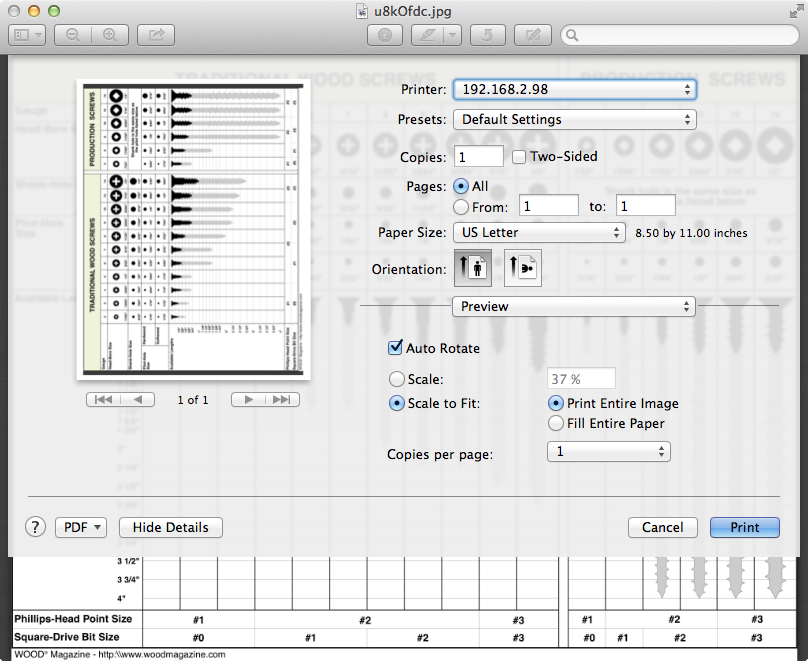
There are a few ways to get the correct sizing. One way is to print the image twice: the first time, printed at 100%, will produce a result in this case that is larger than desired. Measure the printed size of one of the objects with known length; I recommend choosing the largest object that fits on the page. Then the correct scaling factor to apply is (actual length) / (printed length) x 100%. So for example, if a 3-inch screw depicted in the image is printed out at 100%, and has a length of 5.2 inches in the print, the scaling factor to apply to the next print is 3/(5.2) x 100% = 57.6923%.
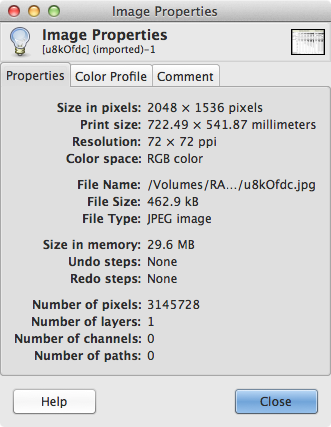
If you cannot make more than one print, or if printing at 100% results in no objects of known length fitting on the page, then you could also use an image editor that can read raster images and measure the distance in pixels between two points on the image (e.g., Adobe Photoshop). So for example, the original image is 2048 x 1536 pixels, and has a printing resolution of 72 ppi. If you measure the length of a 3-inch screw, and find that it is 720 pixels, for example, then the ppi setting that will make it print to scale is (720 px)/(3 in) = 240 ppi. Then you can either change this value in the image editing program and print it at 100%; or you can leave it at 72 ppi and print it at 72/240 x 100% = 30%.
Note that in both cases, you must know the real-life dimensions of an object in the image.
After downloading the image, I measured it and found that a length of 4 inches corresponds to approximately 758 pixels in the image. This gives a resolution of approximately 189.5 ppi, which means that you can either set the image to this value, or print it at a scale of 38%.


