I looked around and found an applescript (which can be turned into a shortcut) that does just want you want. Unfortunately, it's not super simple like it should be. It's better than nothing though, and you only need to do this once. It will save you time in the long run.
1) Open Automator.
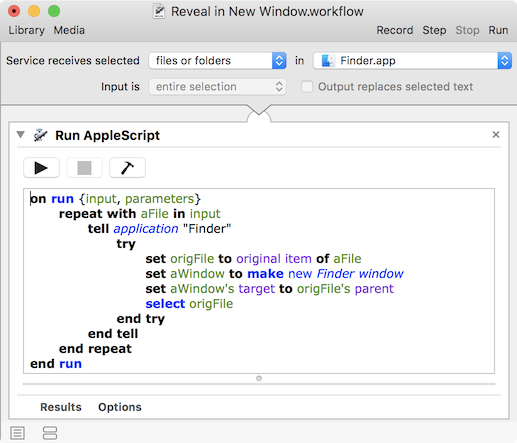
2) Create new 'Service'
3) Set Service receives to 'no input' in 'Finder'
4) add 'Run applescript'
5) put this code inside it:
-- duplicateFinderTab.scpt
-- Uses a hacky workaroud to duplicate the frontmost Finder tab,
-- since Apple hasn't provided great AppleScript support for this.

----------------------------------------------
on run {}
    tell application "Finder"
        if (count of Finder windows) > 0 then set duplicate_me to target of front Finder window
        set _sel to the selection
    end tell

    new_tab()

    tell application "Finder"
        set target of front Finder window to duplicate_me
        select _sel
    end tell

    open_orig()

end run

----------------------------------------------
on new_tab()
    tell application "System Events" to tell application process "Finder"
        set frontmost to true
        tell front menu bar to tell menu "File" to tell menu item "New Tab"
            perform action "AXPress"
        end tell
    end tell
end new_tab
----------------------------------------------
on open_orig()
    tell application "System Events" to tell application process "Finder"
        set frontmost to true
        tell front menu bar to tell menu "File" to tell menu item "Show Original"
            perform action "AXPress"
        end tell
    end tell
end open_orig
6) save it (if you open a finder window, and have your alias selected, then go back to automator and hit 'run', then it will work at this point) -- Note: it may prompt you to add 'Automator' to the 'System Preferences' -> 'Security & Privacy' -> 'Accessibility' permissions.
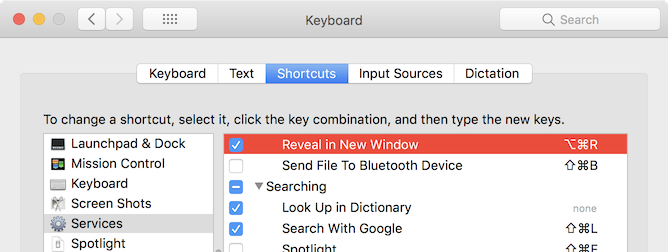
7) in system preferences go to 'keyboard' -> 'shortcuts' -> 'services' -> 'whatever you named it' .. pick a shortcut (like "^-CMD-O").
Other things:
It may require you to do this once:
when finder is selected, in the menu,
'Finder' -> 'Services' -> 'whatever you named it'
or if it didn't appear:
'Finder' -> 'Services' -> 'Services Preferences..' -> check the box in system preferences that your application is called
There are other permission errors you might receive depending on how your system is set up, however, you should notice that the script DOES work when you hit 'run' on step 6 or after step 5. Just first select the file in the finder then swap over to the automator app and hit 'run'.
And if everything worked smoothly for you, the cmd-cntl-O shortcut should work for you, so you can do that shortcut, (which opens a new tab of the same selection), then right click and select 'show original'
Edit by OP
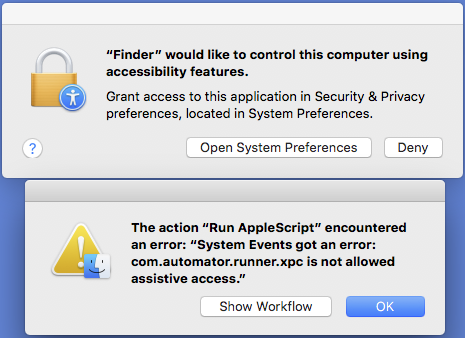
If you receive an error "com.automator.runner.xpc is not allowed assistive access" then the workaround is not obvious.
You cannot add com.automator.runner.xpc itself to Assistive Access, nor does adding Automator or Automator Runner help, however after a reboot the clue was that two errors were triggered, not just one.

Adding Finder itself to Assistive Access allowed the script to run.


