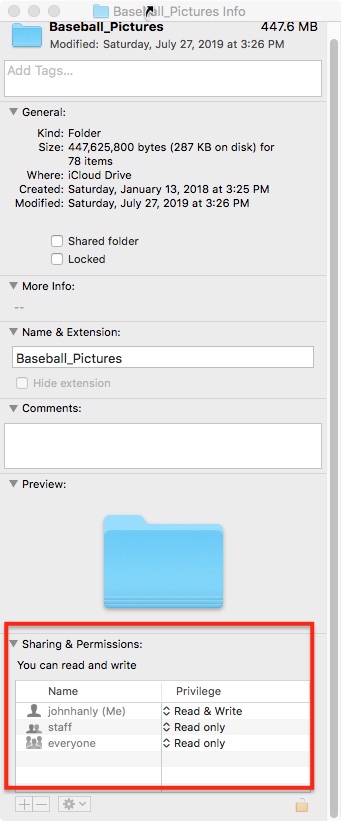
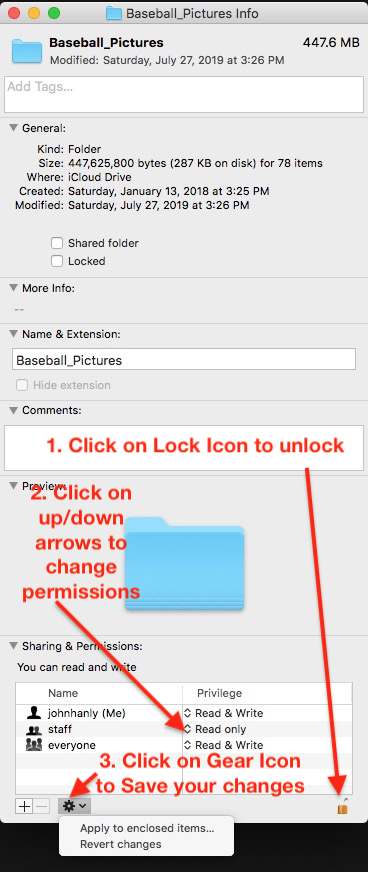
90% of what I do on the Mac is controlled by voice commands. It sounds like your buddy has enhanced dictation set up on his computer already. If so, if this following AppleScript code was saved in Script Editor.app as "Make Read Only.scpt" ...
tell application "Finder"
    set selectedItemsRef to a reference to (get selection)
    set itemCount to count of selectedItemsRef
    if itemCount is 1 and class of item 1 of selectedItemsRef is folder then
        set selectedFolder to (item 1 of selectedItemsRef) as alias
        set folderItemsRef to a reference to entire contents of selectedFolder

        set locked of folderItemsRef to false

        set {everyones privileges of folderItemsRef, group privileges of folderItemsRef, owner privileges of folderItemsRef} to {read only, read only, read only}

        set locked of item 1 of selectedItemsRef to false

        set {everyones privileges of selectedFolder, group privileges of selectedFolder, owner privileges of selectedFolder} to {read only, read only, read only}

        set locked of folderItemsRef to true
        set locked of item 1 of selectedItemsRef to true

    else if itemCount is 1 and class of item 1 of selectedItemsRef is document file then
        set selectedFile to (item 1 of selectedItemsRef) as alias
        set locked of selectedFile to false
        set {everyones privileges of selectedFile, group privileges of selectedFile, owner privileges of selectedFile} to {read only, read only, read only}
    end if

    if itemCount is greater than 1 then
        set selectedFolders to (items of selectedItemsRef) as alias list
        repeat with i in selectedFolders
            set folderItemsRef to (a reference to entire contents of i) --
            if locked of folderItemsRef is true then set locked of folderItemsRef to false
            if locked of i is true then set locked of i to false
            set {everyones privileges of folderItemsRef, group privileges of folderItemsRef, owner privileges of folderItemsRef} to {read only, read only, read only}
            set {everyones privileges of i, group privileges of i, owner privileges of i} to {read only, read only, read only}
        end repeat
        repeat with i in selectedItemsRef
            set locked of i to true
        end repeat
    end if
end tell
With that new "Make Read Only.scpt" script file selected in Finder and with Dictation currently active, out loud speak the phrase "Make This Speakable".
After speaking that phrase, this window should pop up.
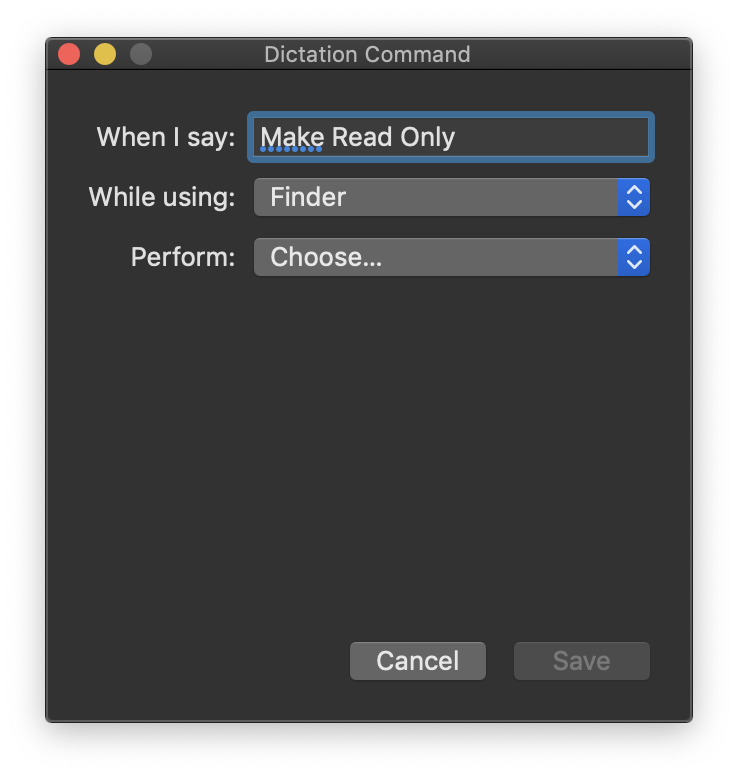
Then, just as in this next image, locate and choose the file "Make Read Only.scpt"
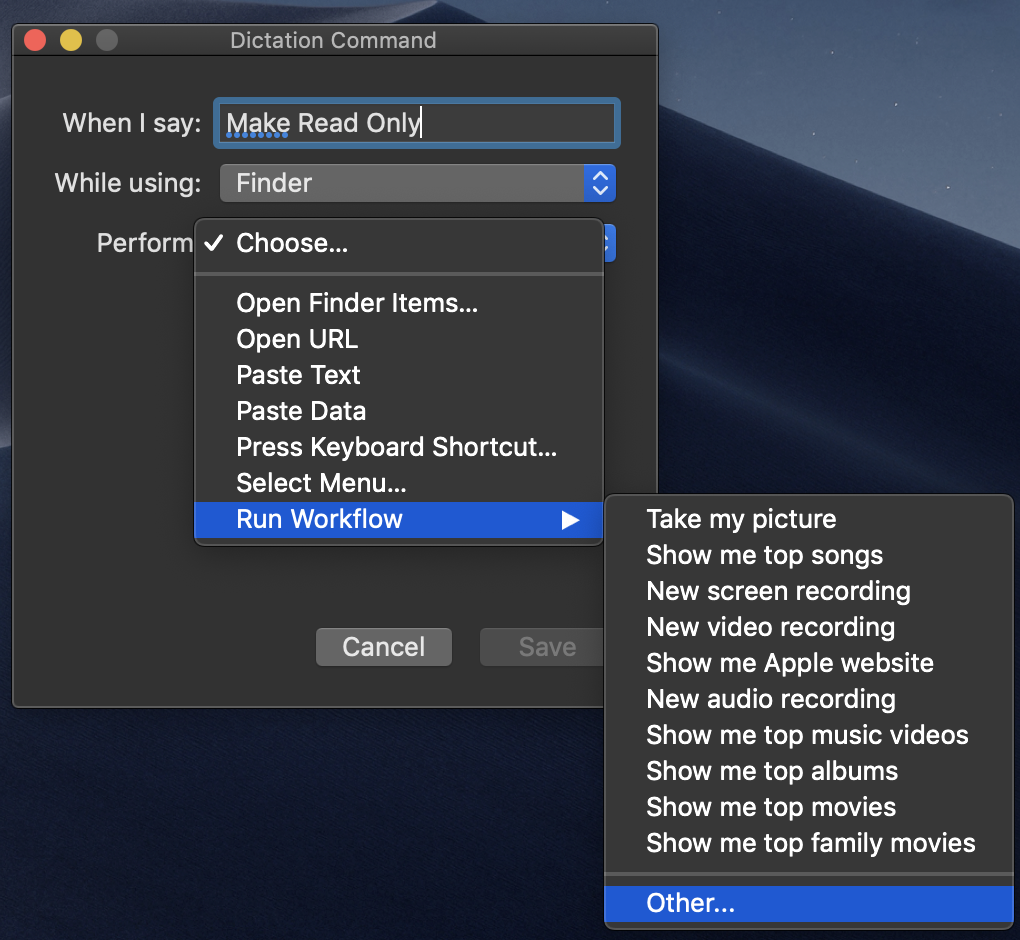
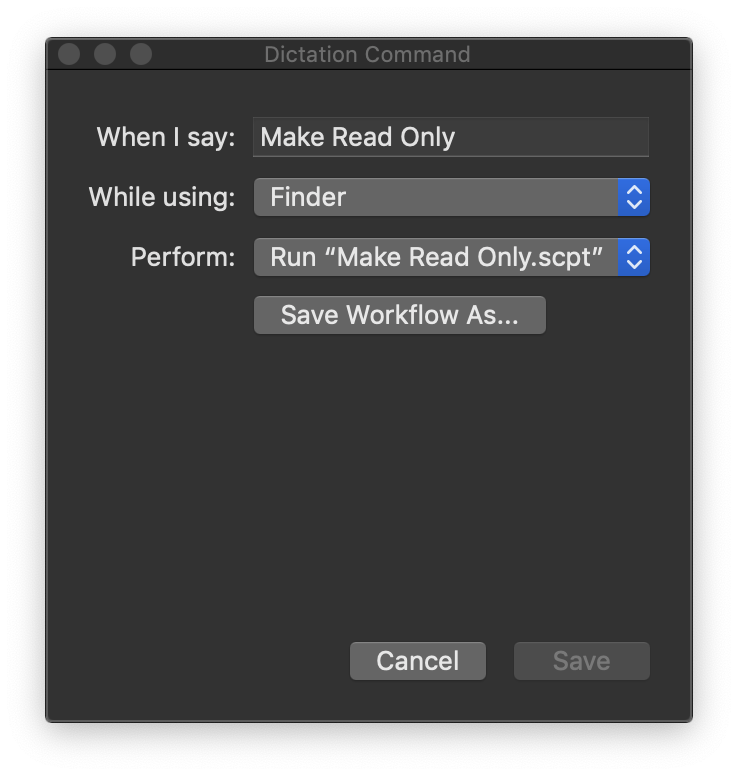
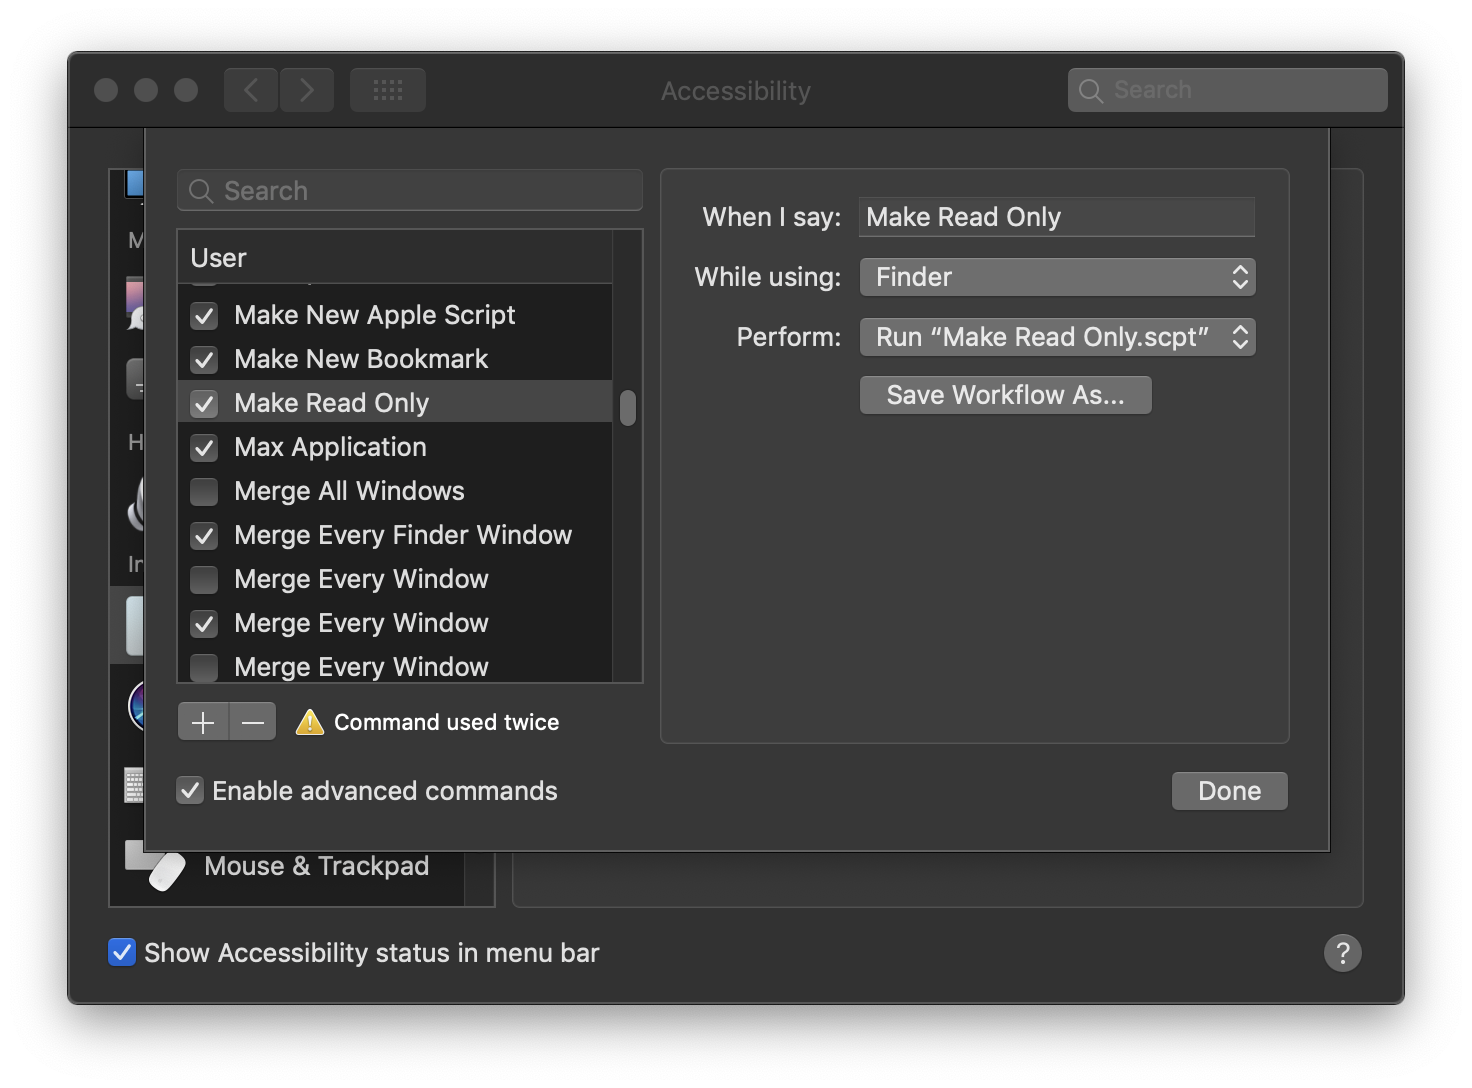
After that new Dictation Command has been saved, you can double check that everything was done correctly by going to System Preferences / Accessibility / Dictation... Then open the Dictation Commands window and make sure your new command is in there.
Now after all of that setup has been completed, anytime a folder or file is selected in Finder (while enhanced Dictation is enabled and active), speak the phrase "Make Read Only". If a folder or multiple folders are selected in Finder, the Permissions of the folders and all of its contents will be set to "read only" and that the folders will be set to "locked". If only a single file is selected in Finder, it's Permissions will be set to "read only"
I have run several tests with several different scenarios and I think I have found and corrected all the bugs in the script. Be sure to test everything out a few times and let me know if you find any bugs In the code.


