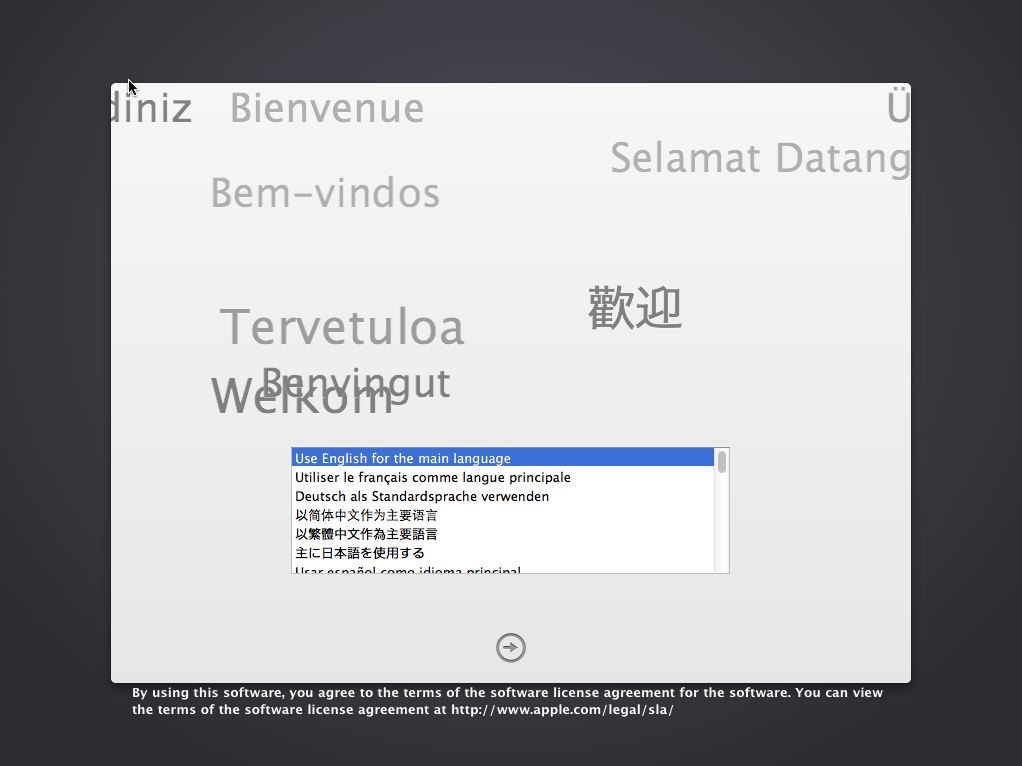
First things first—we need to get verbose boot working, so we can see what the computer is doing. I don't know why cmdV doesn't work, but there's another way.
Open the bootable USB installer in Finder and navigate to Library/Preferences/SystemConfiguration/, then open com.apple.Boot.plist in a text editor. The important section will look something like this:
<dict>
    <key>Kernel Flags</key>
    <string></string>
</dict>
So, currently there are no flags set up. Let's add in the verbose flag by changing it too:
<dict>
    <key>Kernel Flags</key>
    <string>-v</string>
</dict>
If I boot the USB installer with this change, instead of a prohibited sign I'll get a message that reads: "Mac OS X is not supported on this platform!". This is progress—we now know for sure that we're up against a hardware check—but we still need to bypass the check.
Open the USB installer in Finder again, but this time, navigate to System/Library/CoreServices and open PlatformSupport.plist in a text editor. Inside, you will see a list of "SupportedBoardIds" and "SupportedModelProperties".
<dict>
    <key>SupportedBoardIds</key>
    <array>
        <string>Mac-031B6874CF7F642A</string>
        <string>Mac-F2268DC8</string>
        [...]
        <string>Mac-F2218EC8</string>
    </array>
    <key>SupportedModelProperties</key>
    <array>
        <string>MacBookPro4,1</string>
        <string>Macmini5,3</string>
        [...]
        <string>MacBookAir5,1</string>
    </array>
</dict>
All we need to do is add our Mac's Board ID and model to their respective lists. You can find your model in System Profiler under Hardware Overview, where it's listed as "Model Identifier". In my case, I have a "MacBookAir7,1".
To find the Board ID, open Terminal and enter: ioreg -l | grep -i board-id. My board ID turned out to be "Mac-9F18E312C5C2BF0B".
I added this information to PlatformSupport.plist like so:
<dict>
    <key>SupportedBoardIds</key>
    <array>
        <string>Mac-031B6874CF7F642A</string>
        <string>Mac-F2268DC8</string>
        [...]
        <string>Mac-F2218EC8</string>
        <string>Mac-9F18E312C5C2BF0B</string>
    </array>
    <key>SupportedModelProperties</key>
    <array>
        <string>MacBookPro4,1</string>
        <string>Macmini5,3</string>
        [...]
        <string>MacBookAir5,1</string>
        <string>MacBookAir7,1</string>
    </array>
</dict>
And now when I boot the installer, I get... a kernel panic! Ta-da! 🎉
In some cases, this might be the end of the road, but I happen to have one more trick up my sleeve. The XNU kernel used by macOS is open source, so it's possible to compile a custom kernel with support for additional hardware. It's not possible for me to do this, but there exist other people who are smarter than me.
My 2015 Macbook Air uses a Broadwell processor, and I found this kernel for 10.9.5 which purports to add Broadwell support. I might as well give it a try!
I downloaded the attachment and copied mach_kernel to the root of my USB installer drive. Note that if I was trying to install OS X 10.10 or newer, I would have copied it to System/Library/Kernels instead.
In order for the installer to use my custom kernel, I need to tell it to ignore the kernel cache. To do so, I once again opened Library/Preferences/SystemConfiguration/com.apple.Boot.plist in a text editor, and added the -f flag:
<dict>
    <key>Kernel Flags</key>
    <string>-v</string>
    <string>-f</string>
</dict>
Then I tried booting the installer again, and...

Wait a minute. That wasn't supposed to actually work!
For whatever reason, my internal keyboard and trackpad were nonfunctional, so I had to plug in an external keyboard and mouse via USB. But other than that, I was able to open Disk Utility, format the internal drive, and install the OS normally.
It is critical that you do not allow your Mac to automatically reboot at the end of the installation, or you'll just end up with another prohibited sign. Remember how we added our Mac's model and board id to PlatformSupport.plist? We need to also make this change to the copy that's been installed on your hard drive.
When your Mac tells you the installation is complete, immediately open the Terminal app and cp PlatformSupport.plist from System/Library/CoreServices on your USB installer to the equivalent location on your hard drive. If you're using a custom kernel, as I was, make sure to copy that as well. With those changes in place, you can safely allow the installer to reboot!
That's it, you're done—my 2015 Macbook Air successfully booted into a fully-installed copy of Mavericks. Unfortunately, I quickly discovered that there wasn't any graphics acceleration, and I still couldn't use the internal keyboard or trackpad, but I was able to browse the web, play some music, and hop on a Zoom call. And who knows, maybe you'll be luckier than me with your hardware!
Also, there's a global pandemic outside and I had nothing better to do with my Sunday afternoon.
P.S. Final note about custom kernels, they tend to get replaced with every OS update, including minor security updates. Before you install an update, back up your custom mach_kernel, and then copy it back after the installation is complete but before you reboot your machine!
P.P.S. Thank you to AnonMac50 over on the MacRumors forums for giving me the hints about PlatformSupport.plist and com.apple.Boot.plist. The last time I tried this, many years ago, I got totally stuck because I didn't know about those.
Epilogue: A Mac repair shop (DoubleDex) swapped the Logic Board in my 2015 Macbook Air with one from a 2014 Macbook Air. Now Mavericks runs perfectly.

