Prerequisites:
– admin account & password
– AFP-share & server IP-address
Boot the Computer to Recovery Mode.
Open Terminal in the Utilities menu
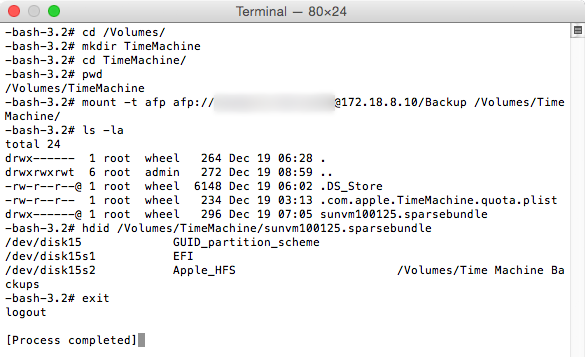
At the prompt enter:
cd /VolumesCreate a sub-directory in Volumes as a mount point for your time machine share:
mkdir TimeMachineEnter
cd TimeMachineEnter
pwd. pwd should show /Volumes/TimeMachineMount the network share with your admin loginname & password:
mount -t afp afp://adminname:password@ServerIPAddress/ShareName /Volumes/TimeMachine
If your password contains wonky characters like :@\/ use URL encoding to protect them
8. Enter: ls -la. Note the exact name of your sparsebundle.
9. Enter: hdid /Volumes/TimeMachine/NameOfYourSparseBundle.
You may enter the first letters of the sparsebundle name and then hit TAB.
Hitting tab should auto-complete the Time Machine sparsebundle name. It may not look the same as above as it escapes spaces and special characters.
10. After auto-completing the name, hit return.
If you return to the prompt the sparsebundle has been opened.
11. Enter exit and ⏎ and quit Terminal.
Example steps 3-11:
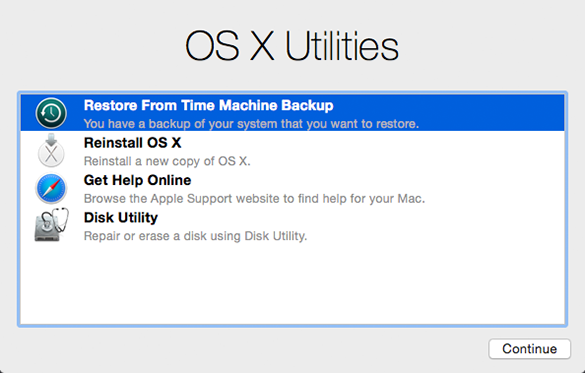
- Select
Restore From Time Machine Backupand click Continue.
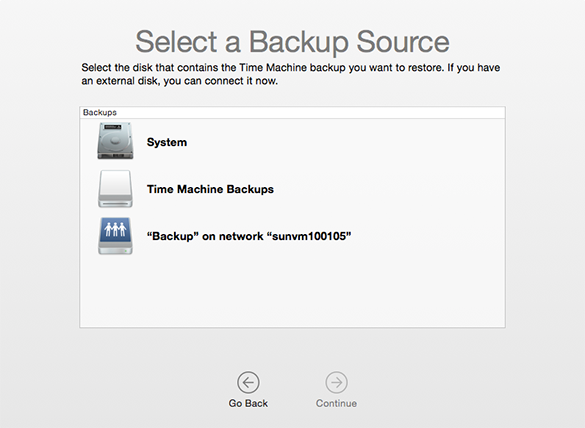
- After a search it should show you the Time Machine Backups directory as a volume that contains your backup. Select that (in my example 'Time Machine Backup') and click Continue.
- In the next screen you will see all the backups that you can restore from listed by time and date.
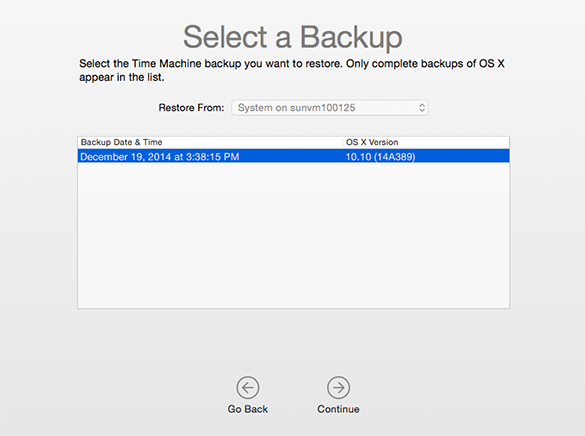
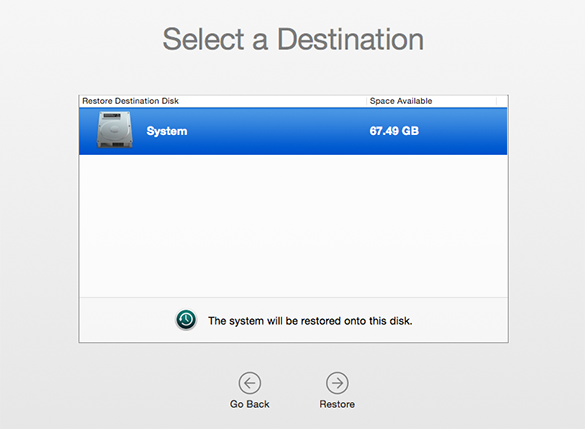
- Select the backup you want to restore and continue and finally choose your destination disk:
