39

I've got a MacBook Pro (Early 2015, OS 10.11.2) and I've also got a Dell 2209WAf monitor, which I'm using with a VGA cable and this adaptor.

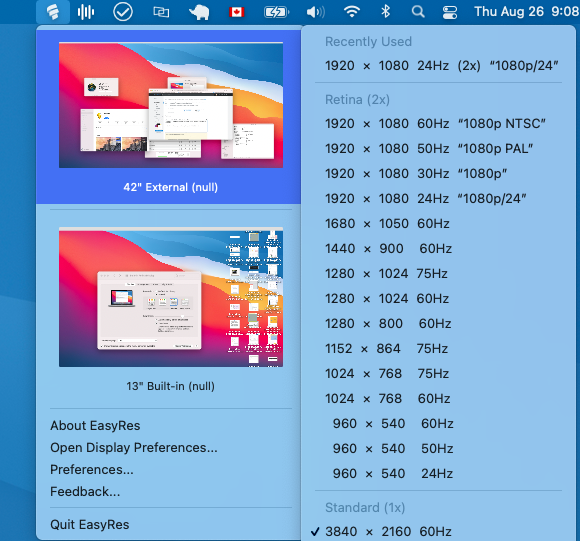
The monitor's optimum resolution is 1680x1050 @ 60Hz and RDM shows this as an option. However, when I try to use that resolution, my screen looks like this Screen looks terrible, it's not as easy to see from the photo which is clearly not right (it looks impossibly pixellated and really hurts my eyes, you can barely see anything on the screen).

On the monitor, it says it's displaying 800x600 when my Mac says it's displaying 1680x1050.

I've seen questions about VGA cables/adaptors etc. asked before, but they all said it was to do with the resolution being too high. My monitor (and adaptor) can display 1920x1080 so that would appear to not be the case here.

The options for the resolution in Displays all work perfectly (various ones from 800x600 up to 1400x1050 when Alt-Scaled) but then it jumps up to 1920x1080. How can I add 1680x1050 to this list, as presumably that would display clearly? SwitchResX doesn't fix this and neither does RDM, I've seen stuff about editing .plist files but that was all for Yosemite, apparently it's different for El Capitan.

Any help is massively appreciated!

1
  • I suggest replacing that adapter and cable for analog VGA signal for an adapter and cable for digital DVI signal. That monitor does support DVI. Commented Oct 18, 2016 at 6:39

14 Answers 14

42

You can go to System Preferences > Displays, then option-click (press option key while left-clicking) on Scaled to expose additional resolutions that aren't exposed with a normal left-click.

Otherwise, you have a great choice of software for that, like switchResX:

Why hassling with Apple's inbuilt screen settings, when there is so much more to get and much easier, too?

With SwitchResX you get back control on your screen – or screens even! There are plenty of inbuilt options...

9
  • 3
    Alt-clicking (left not right) does show more resolutions, but 1680x1050 is not one of them. SwitchResX has the same issue as RDM. Thanks though :)
    – Dan Grove
    Commented Dec 28, 2015 at 15:47
  • 1
    In the advanced setting either ? You're welcome :)
    – StrawHara
    Commented Dec 28, 2015 at 15:52
  • 1
    SwitchResX helped me to get 2560x1440@60Hz on my new MacBook Pro 2017, using USB-C AV Adapter.
    – Dio Phung
    Commented Sep 1, 2017 at 5:55
  • 2
    this answer does solve my issue, I secondary display get this issue from time to time, even system reboot doesn't solve it. option-click on Display preference panel works. thanks!
    – Vincent
    Commented Jun 6, 2018 at 1:01
  • 1
    Screw 3.5k Macbook. In 2021 still an issue; unplugging - replugging a billion times works. Just don't touch the cable or it's screwed again. Wtf Apple.
    – Trace
    Commented Feb 1, 2021 at 21:47
13

Okay, so I managed to work out what the issue was in the end - it was OS X's handling of the EDID data from the monitor. Windows evidently could read the data just fine, which is why it worked perfectly every time. Where Apple don't develop plug-and-play drivers for monitors (I assume) and hadn't added a profile for mine, it couldn't recognise it.

In the end, it was a relatively simple fix. Here are the steps I followed (some very basic knowledge of Terminal is necessary for the second half, it's mostly common sense though).

Things you'll need:

  • A Mac/computer running OS X that isn't currently recognising your monitor correctly (duh)
  • Access to a PC running Windows (with same connections as Mac, DVI and VGA have different EDIDs for instance) or Mac via Boot Camp
  • A USB drive in FAT32 (doesn't need to be big)

  1. Boot into Windows from your Mac if you can (or alternatively plug a Windows machine into the monitor that isn't working properly)
  2. Download and run MonitorInfoView.exe from here (some similar applications don't export the full 128 bit hex code you need for the EDID) and select the monitor you need the EDID for - make sure you don't choose the internal screen if you're on a MacBook! Then export the EDID data as a .rtf file (it's in one of the options in the menu bar) and save it to a drive that can be read by Windows and Mac machines.
  3. In the .rtf file (at the bottom) there should be a Hex table - this is your monitor's EDID data. Remove the "0x00" (etc.) code from the start of each row and copy the resulting text into www.edidreader.com. The Hex key needs to be in the format that edidreader can read, as otherwise the code won't work for the second half of this tutorial (I made that mistake first time) - the tool should display exactly the same data as what you got in the .rtf file when all three checkboxes are ticked.
  4. If your EDID data isn't corrupted, follow the steps in this excellent tutorial here about how to edit the Overrides in OS X. To do this, you'll need to disable SIP (reboot Mac holding Cmd+R, run "csrultil disable" via Utilities > Terminal and then reboot and log back in. Also, the location of the Overrides folder has changed in El Capitan, so it's now in /System/Library/Displays/Contents/Resources/Overrides instead of what's mentioned in the forum guide.

If your EDID data isn't being read at all by anything, you'll need to either use another monitor (that broken one won't ever work properly) or have the defective one replaced etc.

I hope this can somehow be helpful to someone - I couldn't find a comprehensive guide about how to solve this problem anywhere (and I've been looking solidly for 2 days+)!

Peace, Dan

7

I don't have enough points to add comments, but I just had the same issue and found the reply by Dan Grove extremely helpful. This reply is in regard with the step 2 of his proposed solution.

It can be skipped by retrieving the monitor's EDID data from SwitchResX. You can download the trial version and, in the monitor tab of SwitchResX preferences you'll see an "Export EDID" button on the top right-hand side.

I thought this might be useful since it doesn't involve any Windows machines.

1
  • It's best to include a link to the post that you referenced for reference.
    – Allan
    Commented Apr 5, 2016 at 13:55
4

I've spent the last 4 hours (at least) fixing that issue on macOS Sierra. The way I managed to do it is based on Dan Grove's reply to himself in this same thread, but with more DIY (thanks Dan!).

Few things I think are important to understand about EDID files:

  1. For one given screen device, EDID files are different depending on the OS.
  2. DO NOT retrieve the EDID from the computer where you have the issue (as suggested by chiara in this thread) – it did not work for me and gave me corrupted data.
  3. You will need need a computer where the screen works (typically running Windows) to retrieve the correct EDID to then port it to Mac.

Now, following Dan Grove list of steps (see his post above), I would bring some clarifications as follow:

Step 1 – I used a real Windows computer to do that, not a Virtual Machine.

Step 2 – There was no option to export the EDID data as an RTF file in MonitorInfoView when I did it, probably because the software got updated since. I had to click on View > Lower Pane > EDID Hex Dump to actually see the Hex part.

Step 3 – For those who don't know what Hex is, below is a screenshot. You will have to remove the surrounding parts (highlighted in red) to only keep the Hex part (highlighted in green).

enter image description here You can then copy and paste the green part in EDID Reader as Dan explained. You don't necessarily need to have the 3 boxes ticked, just click on Parse Edid and check if the information on the right reflect what your screen device should be – e.g you should be able to see the resolution you're trying to make work.

Step 4 – This is the tricky part which got me confused. The tutorial is asking for you to output the result of the following Terminal command in a text file ioreg -lw0, and search for various strings within the said file.

Unless I'm mistaken, ioreg stands for Input/Output Register, meaning it's basically listing all the devices of your machine. However, having 2 screen devices (the native Macbook screen + the external one I was trying to make work), you need to be careful not to be mistaken with your native screen.

The tutorial asks you to look for the IODisplayEDID string but my external screen did not have any in the ioreg output (which is certainly why is was not working). The correct IODisplayEDID data to create is the one we found in the Hex part, highlighted in green above. This is the string you need to port into a mac Overrides file (just follow the tutorial if you have no idea what I'm talking about).

To avoid mistakes, just be aware that the DisplayVendorID for the Apple native screens seems to be 1552. If during the tutorial you end up using this ID, you're about to change the settings of your native screen, not the external one :)

I hope this brings some clarification to the very useful steps from Dan Grove.

Cheers fred
4

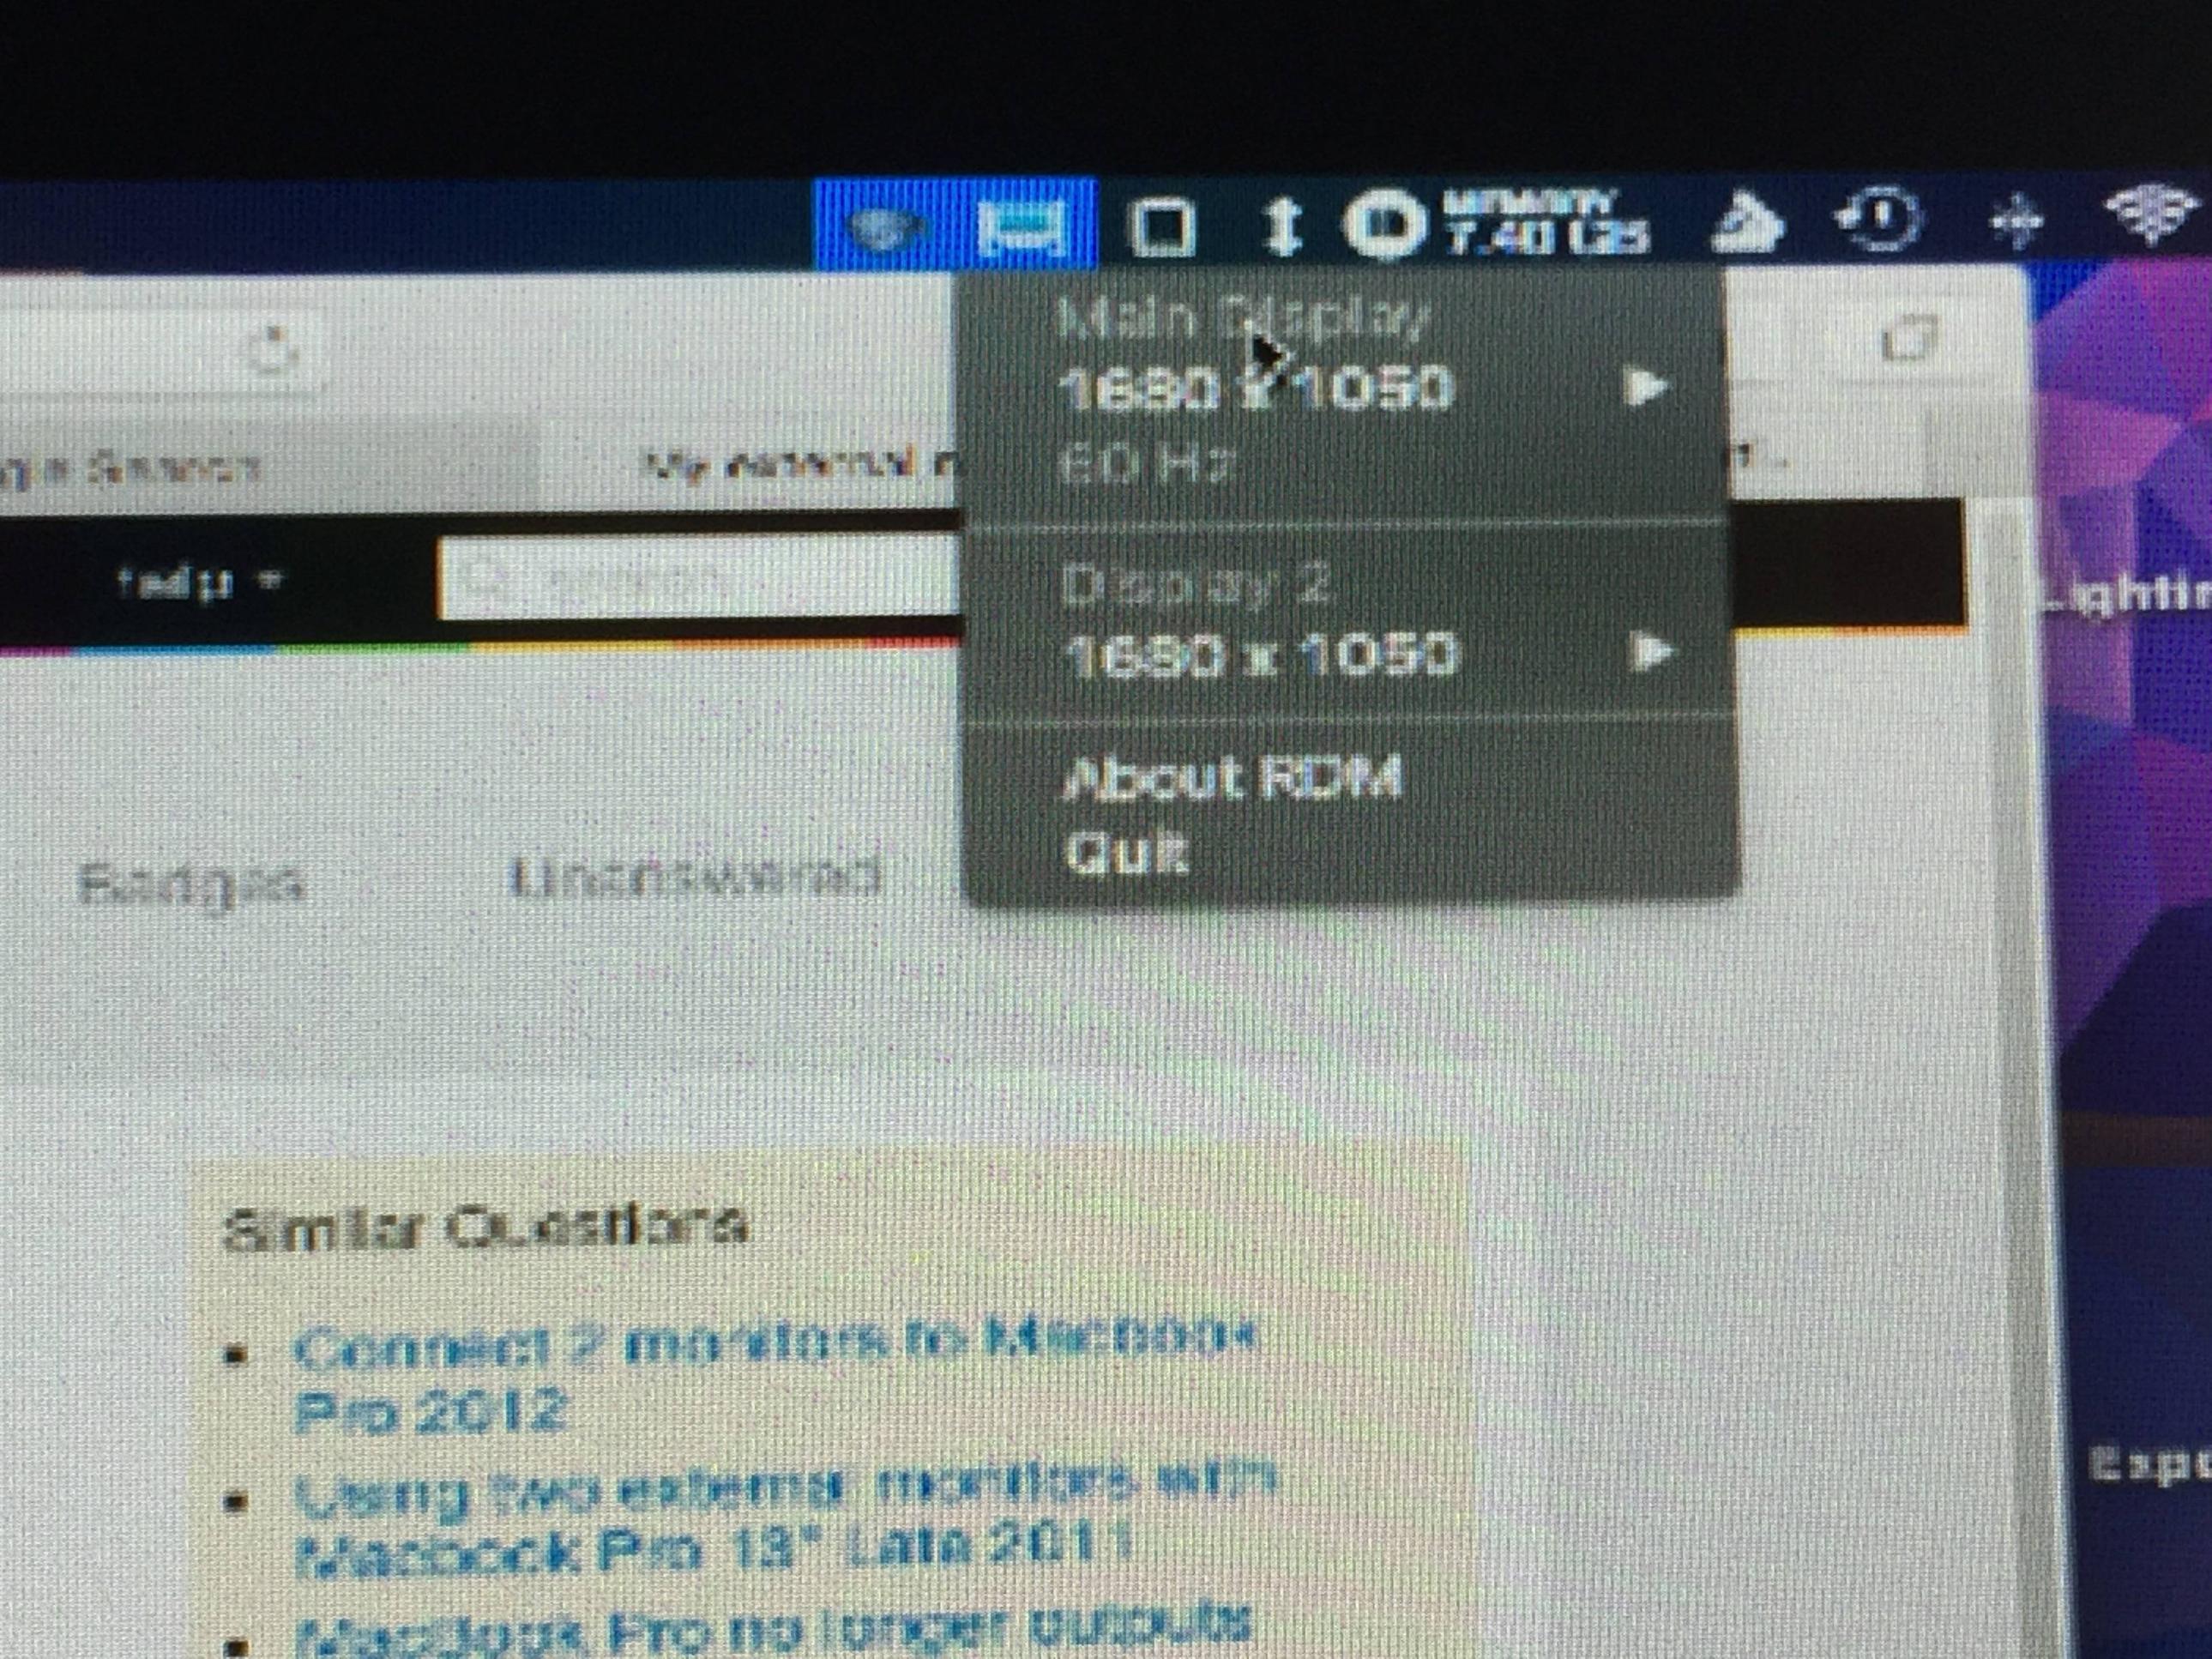
EasyRes from Appstore solved my problem of not having the 4K resolution on my monitor. It's plug and play.

enter image description here

2
  • 1
    And it's free !
    – tama
    Commented Aug 26, 2021 at 16:52
  • Thanks! This works perfectly! I recommend this solution.
    – Yousof K.
    Commented Aug 21, 2022 at 15:47
2

No program is needed. I was seeking help around forums and I decide to try with cable (without any adaptors) I bought cable for less than 4quid and I got full 2560x1440 it's Mini DisplayPort to DisplayPort cable (thunderbolt to display port on external monitor). If resolution still not showing keep holding Option key and click on Scaled (in Display settings). Good luck!

1
  • This is an underrated answer. I was using a Mini DisplayPort to HDMI converter and had the resolution problem. Switching to a Mini DisplayPort to DisplayPort cable fixed it. Although it would be nice if the HDMI cable worked, this was a lot simpler. Commented Jan 11, 2021 at 22:13
1

I had a similar problem today with an iMac and a SyncMaster225BW display also with 1680x1050 native resolution. Tried SwitchResX which did not seem to work. But the problem seemed to fix itself after a reboot - the secondary display came up in native resolution. (This was after uninstalling SwitchResX.)

What I actually did was reboot into recovery mode and turned off the SIP (planning to modify one of the DisplayVendorID files according to instructions that turned out to be unnecessary). I doubt turning off SIP had anything to do with it, but it's possible.

2
  • 1
    I've tried editing the DisplayVendorID files but it didn't work at all, I have no idea how to make it "just work" normally. I can't be buying new adaptors (even though I don't think that's the problem) all the time, the way Apple has integrated displays into OS X is shoddy to say the least - lots of people on forums etc. have problems very similar to mine. The real pain in the bottom is that the display works perfectly in Windows 10 from my Mac.
    – Dan Grove
    Commented Dec 28, 2015 at 21:33
  • I didn't have this problem for a good while and then suddenly did have it after 'waking up' my Mac mini (M1, 2020). Restarting fixed the issue. Commented Dec 31, 2021 at 18:43
1

After updating to macOS Sierra I encountered same issue. As I understand it was because mac recognised it as TV instead of as additional monitor. Next steps helped me to solve the problem:

  1. Save file from embdev.net to Downloads folder.
  2. Run in terminal cd ~/Downloads and ruby patch-edid.rb It will generate folder with name something like DisplayVendorID-4b1f
  3. Reboot Mac holding Cmd+R, run csrutil disable via Utilities > Terminal and then reboot and log back in.
  4. Copy generated folder to /System/Library/Displays/Contents/Resources/Overrides. Needs entering admin password.
  5. Reboot mac. It should be ok now.
  6. Repeat step 3 but running csrutil enable instead.
1
  • 1
    People relying on this answer need to understand the file download is not from Apple, it's from a 3rd-party site.
    – fsb
    Commented Oct 6, 2016 at 18:07
0

you can follow Force RGB mode in Mac OS X to fix the picture quality of an external monitor .

1
  • 1
    Welcome to Ask Different! We're trying to find the best answers and those answers will provide info as to why they're the best. Explain why you think the link you provided will answer the question. Links can change and become outdated so we prefer the answers to not just be a link. See How to Answer on how to provide a quality answer. - From Review
    – fsb
    Commented Oct 4, 2016 at 18:13
0

I found the issue was with the monitor. By changing 1 setting the resolution was fixed. See here:

On the Mac: System Preferences > Displays > Under the Display tab set the Underscan -> slide to OFF! (This ensures it is in the default position)

On your Monitor: Image Control > Custom Scaling > Overscan ---- OFF!

0

For people having external display issues on boot camp (Windows 10) I just solved my issue of always defaulting to minimum resolution no matter what setting I picked by doing this:

  1. Manually went to AMD and installed the graphics drivers first

  2. Control Panel->Display->Advanced Display Options->Select external monitor->Display adapter properties->List Modes

  3. I don't know if it matters but I first selected a lower resolution, in my case 1680x1050 then Ok and Apply and BOOM! It was scaling correctly! Then I went back to List Modes and increased it to its max which was 1920x1080

So its good to go now! Hope that helps somebody before you dive into that EDID stuff...

0

My experience was thankfully a lot simpler than reading / applying EDID settings.

I'd recently bought an Iiyama ProLite Ultra-wide 3440x1440 resolution monitor, and this default resolution was missing from the list of available sizes.

I was using a standard USB 3 / HDMI hub to connect the monitor. I then switched to an Apple proprietary USB 3 / HDMI dongle and voila! It suddenly detected the correct resolution.

0

Adding one more answer since none of the above worked for me. Don't assume your HDMI cable is fine.

I purchased a two-pack of identical HDMI cables (AmazonBasics brand) that both "support 4k" which I connect via a USB-C adapter to the USB ports on a MBP with a 4k display on the other end.

The problem turned out to be that one of the HDMI cables in the pack appears to be defective.

With Cable A, I get only a max resolution of 1920x1080. Keeping the adapter constant and only changing the cable to Cable B, I'm able to get access much higher resolutions such as 3840x2160 ("More Space" in the Displays preference pane for this monitor). I can replicate this switching across the various USB C ports on the MBP and the HDMI ports on the monitor. I'm not sure why it's happening but it is 100% consistent.

It's very weird that with Cable A the monitor does not seem to get identified as high resolution in the Displays preference pane and displays a standard UI vs the retina UI.

I would be curious to know in the comments if anyone has experienced a similar issue / if there's anything I can do with the cable that doesn't seem to support 4k.

1
  • I've purchased an LG 27UL600 monitor that came with 1 HDMI cable and 1 Display Port cable. I can test only with the HDMI cable and even though it's from LG (it should support 4k I guess), it doesn't work on iMac Commented Feb 16, 2021 at 12:12
0

My situation was with a cheap 1080p Samsung monitor with a DVI connection. I was using an adapter to plug into the USB-C port of my MacBook Pro that has a DVI plug. The monitor was working fine but it was showing up in 720p resolution, even when I set it to "Default for display". I tried multiple things, replugging, changing to Scaled, etc., nothing was working... until I decided to plug my adapter to a different USB-C port. I was plugging it the one nearest to me, I then put it on the one next to it, nearest to the screen. That did it! Now it shows the full 1080p resolution as intended.

You must log in to answer this question.

Not the answer you're looking for? Browse other questions tagged .